A Look At How The Pros Do It
Why You Should Use A Pro
If you are looking into having a professionally installed epoxy flooring system installed, chances are you probably want to know how the professionals install an epoxy coating. Well down below, we will be giving you an insight into what makes professional installation superior. For example, our team has access to:
- Professional Equipment
- High-Quality Materials
- Experience With Epoxy
Down below, you will find everything you need to know about professional epoxy installation.
A Look At How The Pros Do It
Why You Should Use A Pro
If you are looking into having a professionally installed epoxy flooring system installed, chances are you probably want to know how the professionals install an epoxy coating. Well down below, we will be giving you an insight into what makes professional installation superior. For example, our team has access to:
- Professional Equipment
- High-Quality Materials
- Experience With Epoxy
The Installation Process Of Professional Epoxy
The Installation Process Of Professional Epoxy
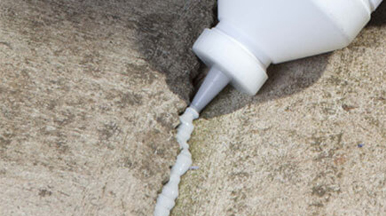
Concrete Repair
If you have new or like-new condition concrete, this step won’t apply to you. For damaged slabs, the first step of the process will always be the repair of any deformities like cracks, weathered spots or deep gouges. We use epoxy injection or concrete based materials to repair these imperfections and to provide a seamless finish and a stronger bond.
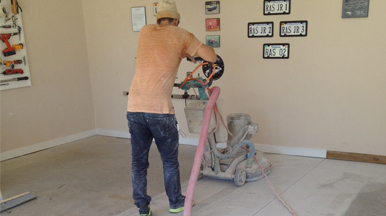
Concrete Preparation
To prepare a concrete slab for epoxy installation, we have to profile the slab, clean the slab and then perform a moisture test to ensure the concrete is completely dry. To profile the slab; expose pores, we use one of 2 methods, shot blasting or diamond wheel grinders but we never use acid etching as this method takes too much time and provides inconsistent profiling.
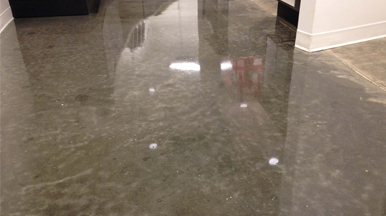
Primer Coat
When using our 5 coat system, the next step after preparation is the application of the primer coat. Primer coats are used to promote adhesion to the concrete substrate. Along with an improved bond, a primer will enable a higher dry film thickness and enforce a uniform coating as the epoxy resin will not be absorbed into the concrete substrate.
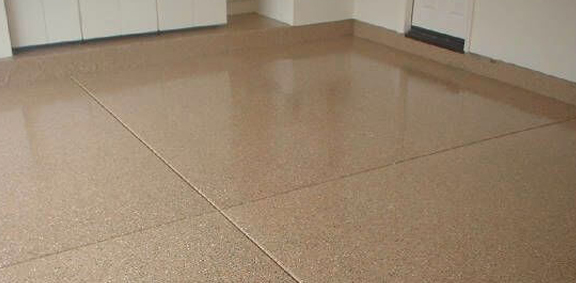
Epoxy Coating
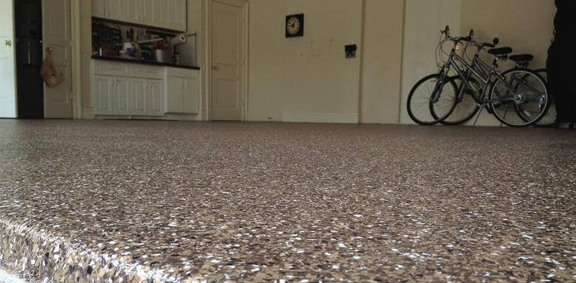
After the primer is in place and has dried, we begin the installation of the epoxy base coats in layers. Our standard epoxies offer a 4 coat system but we also offer the 5 coat system for areas that require additional protection, the thicker the epoxy, the more protection it will provide. This is also where we install additives like flakes.
Polyaspartic Coating
While you can opt-out of having a topcoat placed on your epoxy, the polyaspartic topcoat is what makes epoxy resistant to chemicals, salt, and UV rays. Applicating the topcoat is as simple as laying it down with a squeegee over the freshly installed epoxy coating, providing a durable and long-lasting finish. These steps are completed within 2 days and can be walked on after installation.
Maintaining Your Epoxy
Simplistic Protocols
Maintaining Your Epoxy
Simplistic Protocols
Now that you know how epoxy is installed, you need to know how to maintain it. Thankfully, the maintenance protocol of epoxy flooring is among one of the easiest when it comes to concrete coatings. For example, regular maintenance all that is required is a soft bristle broom or dust mop to remove debris and a standard wet mop to remove any liquids or build up. When stubborn materials end up on your epoxy, use a PH neutral cleaner to remove them.
If you are using epoxy flooring in a setting such as a garage, you can use a standard garden hose to wash down the system when it becomes heavily soiled. When using a hose, make sure to work in circular motions, not maintaining focus on one point. You will also want to make sure that the water coming out of the hose is under 115 degrees.
Remember, deep cleaning or pressure washing is only to be done when completely necessary, never regularly.

Installation & Cure Times
Fast And Efficient
Installation & Cure Times
Fast And Efficient

When looking to have an epoxy flooring system installed, it’s important to know what to expect when it comes to completion time so you can plan ahead. If you choose a professionally installed epoxy flooring system, depending on the condition of the slab, if you want custom work and in some cases the weather, the process can take longer.
For the average epoxy job in a 2 car garage, you can expect your garage to be out of commission for 2 days. After the epoxy is installed, it will be safe to walk on but you must wait 72 hours before vehicle traffic is permitted.
Pricing Expectations
Average Costs Of Epoxy
Pricing Expectations
Average Costs Of Epoxy
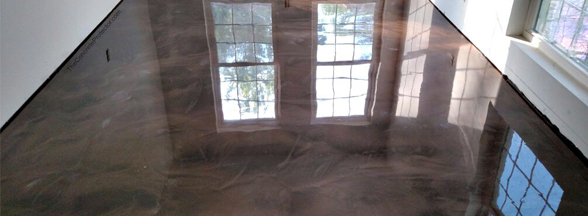
When it comes to the pricing of your epoxy flooring system, just like the installation times, some factors can drive up the price of your system. But, the average epoxy flooring system will cost anywhere from 3 dollars a square foot for a basic system and all the way up to 12 dollars a square foot for a custom system.
In terms of what can drive the cost of your system up, factors like the condition of the slab, custom work, topcoat, and the size or location of the project can play a role in the final cost of the system.
