A Step-by-Step Guide for Raleigh, NC Homeowners

Understanding the Climate in Raleigh, NC
Before we jump into the procedure, it’s crucial to understand the climate of Raleigh, North Carolina. This city has a subtropical climate with hot, humid summers and mild to cool winters. Due to the humidity and temperature fluctuations, concrete garage floors can experience moisture problems and temperature-related cracks. Keeping this in mind can help you choose the right garage floor resurfacing materials and time your project optimally.
Garage Floor Resurfacing vs. Replacement
Resurfacing is not only less costly but also less time-consuming than full floor replacement. Resurfacing involves adding a new layer on top of your existing floor, filling in cracks, and making it look new again. It’s ideal for floors with surface-level cracks and small potholes but still structurally sound. If your floor has major issues, such as significant sinking or large, deep cracks, you may need to consider a replacement.
Essential Tools and Materials
Before you start the process, gather the necessary tools and materials. Here’s what you’ll need:
- Concrete cleaner or degreaser
- Concrete patch or filler
- Concrete resurfacer
- Long handle squeegee or trowel
- Broom and dustpan
- Hose with spray attachment
- Safety gear: gloves, goggles, knee pads
- Pressure washer (optional)
Step-by-Step Guide for Garage Floor Resurfacing
Step 1: Assess the Condition of Your Garage Floor
Check for any visible damage on your garage floor, such as cracks, pits, or surface peeling. If the damage extends beyond the surface, you may need to call a professional. However, if the damage is only on the surface, proceed to the next step.
Step 2: Clean the Garage Floor
Before applying a new surface layer, the existing floor must be thoroughly cleaned. Use a stiff-bristled broom to sweep away any loose debris, dirt, or dust. Afterward, apply a concrete cleaner or degreaser to remove oil stains or other greasy residues. If you own a pressure washer, it can make this job easier and more effective.
Step 3: Repair the Cracks and Pits
After the floor is clean, it’s time to repair the cracks and pits. Use a concrete patch or filler to fill them, following the manufacturer’s instructions. Allow the filler to dry fully before proceeding.
Step 4: Prepare the Concrete Resurfacer
Follow the instructions on the bag of your chosen concrete resurfacer to prepare the mix. Remember to wear safety gear, including gloves and goggles, to protect yourself from dust and other potential hazards.
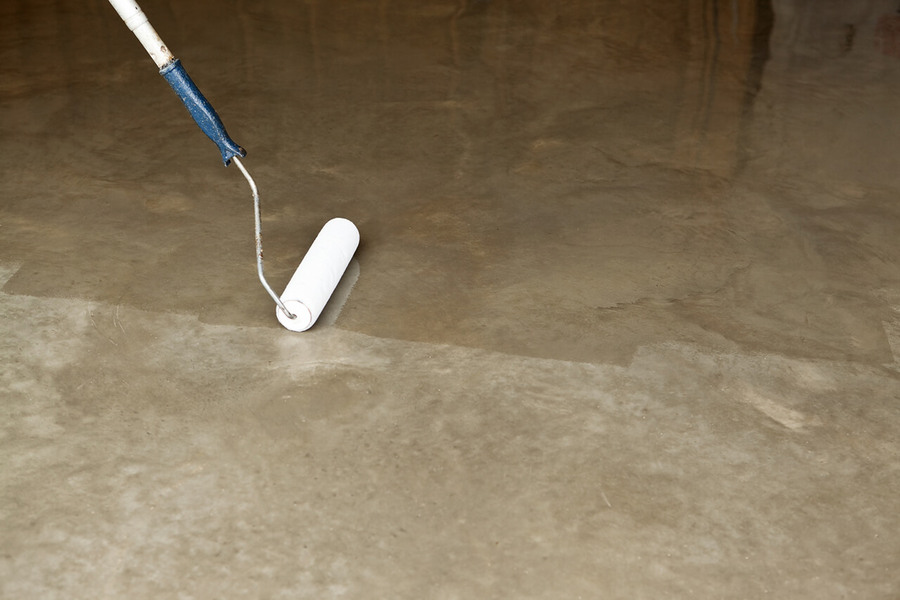
Step 5: Apply the Concrete Resurfacer
With your long-handle squeegee or trowel, begin applying the resurfacer. Start from a corner of your garage and work your way out to avoid stepping on the wet resurfacer. Ensure to spread it evenly across the floor. Depending on the product, you may need to apply more than one coat.
Step 6: Let It Dry
Allow the resurfacer to dry thoroughly. This process can take anywhere from 24 to 72 hours, depending on the product, temperature, and humidity level. Refrain from using your garage during this time.
Step 7: Seal the Floor
After the resurfacer has dried, consider sealing the floor. This step is not always necessary, but it can provide extra durability and longevity, particularly in Raleigh’s climate. Follow the instructions on the sealer product you choose.
Resurfacing your garage floor can seem daunting, but with a bit of effort and time, you can give your garage a new lease on life. Remember, patience is critical when dealing with resurfacing projects. Rushing the process can lead to errors that may impact the quality and durability of your garage floor.
If you feel the damage to your garage floor is beyond a simple resurfacing job, or if you’re uncomfortable handling the job yourself, don’t hesitate to contact a professional. In Raleigh, North Carolina, many seasoned professionals can help restore your garage floor to its former glory.
Key Takeaways:
- The climate in Raleigh, NC, characterized by hot, humid summers and mild to cool winters, can affect the longevity of your garage floor, causing moisture problems and temperature-related cracks.
- Garage floor resurfacing is a cost-effective and less time-consuming alternative to complete floor replacement. It involves adding a new layer to the existing floor, filling in cracks, and making it look new again.
- Essential tools and materials for this DIY project include a concrete cleaner or degreaser, a concrete patch or filler, a concrete resurfacer, a long-handle squeegee or trowel, a broom and dustpan, a hose with a spray attachment, and safety gear.
- The step-by-step process involves assessing your garage floor, thoroughly cleaning the floor, repairing any cracks and pits with a concrete patch or filler, preparing the concrete resurfacer, applying the concrete resurfacer evenly across the floor, allowing the resurfacer to dry thoroughly, and potentially sealing the floor for extra durability.
- Patience is key when undertaking a resurfacing project. Allowing ample time for each step, particularly drying, ensures the best quality and longevity for your resurfaced garage floor.
- In cases where damage to the garage floor is beyond a simple resurfacing job or if you’re uncomfortable handling the project yourself, hiring a professional is recommended.
